
Lesson Learned: shapes, colors, centering,and measuring.
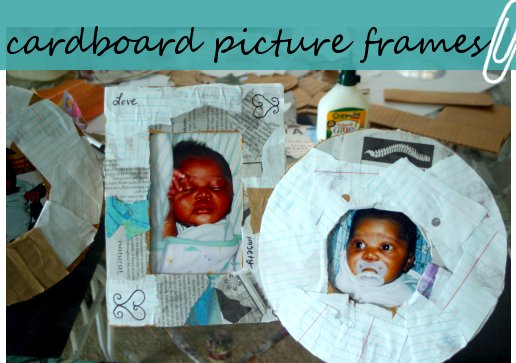
Need a new idea for your arts & crafts time? Then try making these super easy picture frames with your little one! We found this project out of Highlights Magazine and not only was it easy but all of the supplies needed you most likely have at home already.
Supplies Needed:
Paint Brushes
Scrap Paper, torn(construction paper/newspaper, etc.)
Cardboard/Cardboard Box
Scissors
Box Cutter / X-Acto Knife
Tape
Pencil
Ruler
Photos
Glue
Water
Computer Paper
Directions: mix your glue and a little but of water water together. Set aside.
Place a sheet of computer paper over your photo. draw the shape that you want to frame the picture(the inside of the frame, which the picture will show through. Now cut out your shape. Place your shape onto your cardboard and trace around your shape. Then draw the shape of your frame around that shape, making sure the opening will be centered.
Use your box cutter/X-Acto Knife and cut out the inside and outside of your frame.
Glue scraps of paper to the front of your frame. Let Dry. Center your photo where you want it through the opening and tape the corners of your photo to the cardboard. Use a strip of cardboard that is about four inches longer than your frame and tape it to the back of the frame, folding the remaining portion of your cardboard strip upward so that your frame can stand on it's own.


No comments:
Post a Comment